


Installing Laravel with Vue3, Inertia.js, Vite, Tailwind CSS
We are going to see how we can setup a new Laravel application with Vue3, Inertia.js, Vite, Tailwind CSS.


Installation server side
The first part is dedicated to creating a new Laravel application, while there's many ways to do it, we will use the most common two ways, other wise you can see the full documentation for more informations.
Installing Laravel
Installation Via Composer
If your computer already has PHP and Composer installed, you may create a new Laravel project by using Composer directly :
 composer create-project laravel/laravel laravel-inertia
 cd laravel-inertia
This will create a Laravel project with the latest version available (Currently 9)
The Laravel Installer
First you need to install the Laravel Installer as a global Composer dependency :
composer global require laravel/installer
Then create a new project
 laravel new laravel-inertia
 cd laravel-inertia
Installing Inertia.js
We are going to cheat a little bit when it comes to setting up Inertia.js with Vite and use a preset, you can find additional informations here.
Don't forgot to install npmbecause Vite plugin requires Node 16 or greater.
npx @preset/cli apply laravel:inertia --no-pest
This preset is a script that adds and configures Vite, Inertia, Tailwind CSS . Once this command has finished, everything is ready and you can start developing.
To check whether everything is working let's start vite by running :
yarn dev
And our Laravel server :
php artisan serve
And finally head to : http://127.0.0.1:8000/
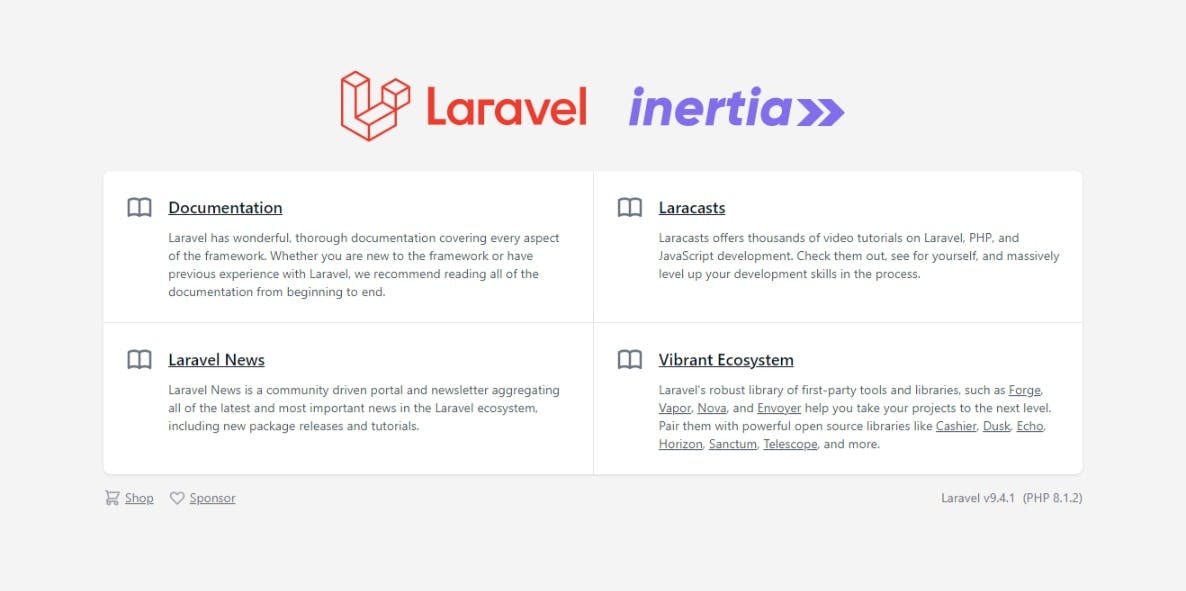
You should see something like this :
Some conventions :
This is some conventions to keep in mind before going forward with this :
- The main entrypoint is resources/scripts/main.ts instead of resources/js/app.js.
- Pages are stored in resources/views/pages instead of resources/js/Pages
- Components are stored in resources/views/components instead of resources/js/Shared
- Components are stored in resources/views/layouts instead of resources/js/Layouts
- File and directory names use kebab-case instead of StudlyCase
- Inertia pages components can be referenced using dots instead of just slashes
Generated configuration
The previous preset has generated a lot of configuration files so let's discuss them :
Webpack.mix.js
webpack.mix.js file was deleted since we are using Vite now and the following packages/config was generated for us inside packages.json
Packages.js
{
  "private": true,
  "scripts": {
    "dev": "vite",
    "build": "vite build"
  },
  "devDependencies": {
    "@vitejs/plugin-vue": "^2.2.4",
    "@vue/compiler-sfc": "^3.2.31",
    "autoprefixer": "^10.4.2",
    "postcss": "^8.4.8",
    "tailwindcss": "^3.0.23",
    "vite": "^2.8.6",
    "vite-plugin-laravel": "^0.2.0-beta.9"
  },
  "dependencies": {
    "vue": "^3.2.31",
    "@inertiajs/inertia": "^0.11.0",
    "@inertiajs/inertia-vue3": "^0.6.0"
  }
}
Main.ts
Now let's check the main entry point of our application ressources/scripts/mains.ts :
import { createApp, h } from 'vue'
import { createInertiaApp } from '@inertiajs/inertia-vue3'
import { importPageComponent } from '@/scripts/vite/import-page-component'

createInertiaApp({
    resolve: (name) => importPageComponent(name, import.meta.glob('../views/pages/**/*.vue')),
    setup({ el, app, props, plugin }) {
        createApp({ render: () => h(app, props) })
            .use(plugin)
            .mount(el)
    },
})
Vite supports dynamic imports by default, but you’ll need to make a change first. You can’t use the require method anymore because that’s a Webpack implementation. Instead, you need to use import. You can then use the import.meta.glob method to only import the pages we want to split. The standard async-await JavaScript feature comes in handy here to pass a function to the resolve on createInertiaApp.
Vite.config.ts
Vite's configuration resides in a vite.config.ts file at the root of your project. Go ahead and check it
import { defineConfig } from 'vite'
import tailwindcss from 'tailwindcss'
import autoprefixer from 'autoprefixer'
import laravel from 'vite-plugin-laravel'
import vue from '@vitejs/plugin-vue'
import inertia from './resources/scripts/vite/inertia-layout'

export default defineConfig({
    plugins: [
        inertia(),
        vue(),
        laravel({
            postcss: [
                tailwindcss(),
                autoprefixer(),
            ],
        }),
    ],
})
The main configuration is defined in config/vite.php, which the Vite plugin (vite-plugin-laravel) reads in order to infer the configuration needed to integrate with Laravel. To configure Vite, publish its configuration:
php artisan vendor:publish --tag=vite-config
You can read more about the config here.
tsconfig.json
{
    "compilerOptions": {
        "target": "esnext",
        "module": "esnext",
        "moduleResolution": "node",
        "strict": true,
        "jsx": "preserve",
        "sourceMap": true,
        "resolveJsonModule": true,
        "esModuleInterop": true,
        "lib": [
            "esnext",
            "dom"
        ],
        "types": [
            "vite/client"
        ],
        "baseUrl": ".",
        "paths": {
            "@/*": [
                "resources/*"
            ]
        }
    },
    "include": [
        "resources/**/*"
    ]
}
This configuration dictates that all files under the "ressources" folder to be included in compilation
tailwind.config.js
module.exports = {
    content: [
        './resources/**/*.blade.php',
        './resources/**/*.ts',
        './resources/**/*.vue',
    ],
    theme: {
        extend: {},
    },
    plugins: [],
}
The content section of your tailwind.config.js file is where you configure the paths to all of your HTML templates, JavaScript components, and any other source files that contain Tailwind class names.
With Tailwind CSS 3 no need to specify JIT mode since it's enabled by default .
In this article we will create our first component and populated with data from Laravel.
The code source for this example can be found here :